How to Choose a Sewing Machine Needle
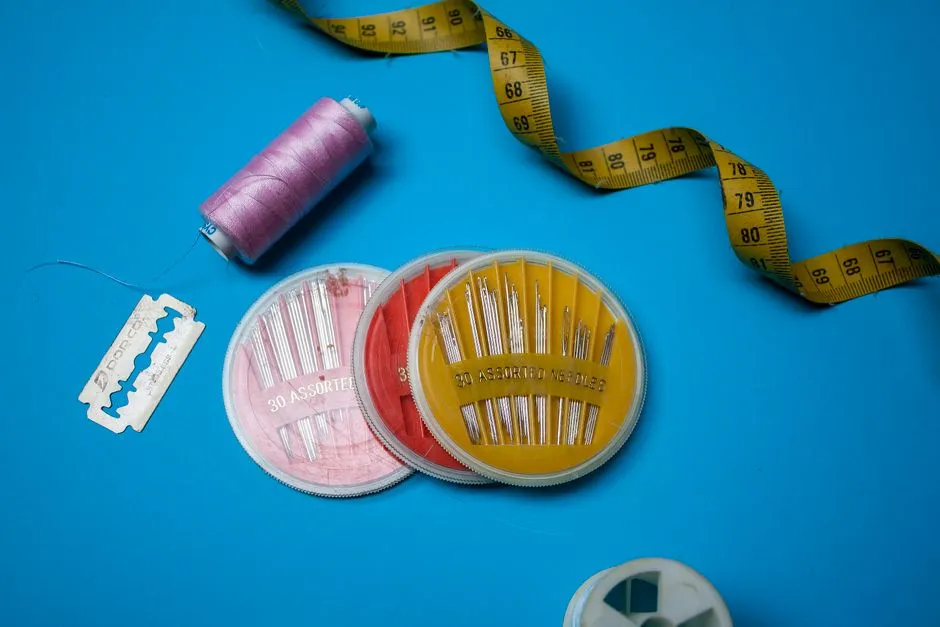
Match the needle system before the fabric
The correct needle must first be compatible with the machine. Many current household sewing machines use the same flat-shank home needle system, but sergers, coverstitch machines, industrial machines, and some older or specialty models may not.
Read the machine manual and compare its required system with the needle package. Do not force a needle that will not seat fully or whose shank differs from the instructions.
Choose type for fabric structure
Needle type describes features such as point shape, scarf, blade, and eye. Useful starting matches include:
| Fabric or task | Needle type to test |
|---|---|
| Stable woven cotton | Universal |
| Fine, tightly woven fabric | Microtex/sharp |
| Ordinary knit | Jersey/ballpoint |
| Highly elastic knit | Stretch |
| Dense denim | Jeans/denim |
| Machine embroidery | Embroidery |
A ballpoint-style needle is intended to move between knit loops rather than cut them. A stretch needle has geometry designed for elastic fabrics. A jeans needle has a reinforced blade for dense woven layers. These categories guide testing; coatings, laminates, sequins, thread, and layer count can change the choice.
Choose size for fabric and thread
Packages often show paired European and American sizes, such as 70/10, 80/12, or 90/14. Larger numbers mean a larger blade diameter. They do not describe point sharpness.
Choose a blade large enough for the thread to pass through the eye and groove without abrasion, but not so large that it leaves unnecessary holes or damages the material. An 80/12 universal is a common test for medium woven cotton, not a universal prescription.
Fine fabric and fine thread may need a smaller needle; heavy fabric or thread may need a larger compatible type. Consult the thread maker's advice and the machine's allowed range rather than extrapolating beyond documented sizes.
Install it with power off
Raise the needle using the machine control or handwheel exactly as the manual directs. Switch off the machine and unplug it if instructed. Cover the needle-plate opening with paper or fabric so the old needle cannot fall inside.
Hold the needle while loosening the clamp. Insert the new needle with the flat or other orientation specified by the manual, push it fully upward, and tighten the clamp as directed. Remove the plate cover before sewing. Never place fingers under a powered needle bar.
Turn the handwheel slowly through one stitch cycle to confirm clearance, keeping power off and hands away from the point.
Test the complete combination
Thread the machine correctly, then sew a scrap with the same fabric layers, stabilizer, and seam direction as the project. Inspect both sides for balanced stitches, skipped stitches, puckering, thread shredding, large holes, and unusual sound.
A problem does not always mean a larger needle. Rethread with the presser foot in the manual's stated position, confirm the bobbin and settings, and replace any bent or damaged needle. If the machine strikes the foot or plate, stop immediately and review compatibility.
Diagnose one variable at a time
When a scrap seam fails, first install a fresh needle of the same documented type and size, then rethread and retest. If the symptom remains, change only one factor—type, size, thread, stabilizer, or setting—before the next sample. Multiple simultaneous changes hide which choice helped.
Label successful samples with needle type and size, thread, stitch, and number of layers. Store unused needles in their marked packages; color bands differ by maker and may identify type, size, or both, so memory alone is unreliable.
Once the sample is clean, practice sewing a consistent seam allowance before using cut project pieces.
Replace damage rather than sewing through it
Discard bent, burred, dull, or damaged needles in a rigid sharps container appropriate to local disposal rules. Do not test straightness by running a finger along the point. If a needle breaks, switch off the machine, locate fragments without bare-handed sweeping, and inspect the plate, bobbin area, foot, and timing with professional service when needed.
Find more matching guidance in Needles & Thread.