How to Sew a Consistent Seam Allowance
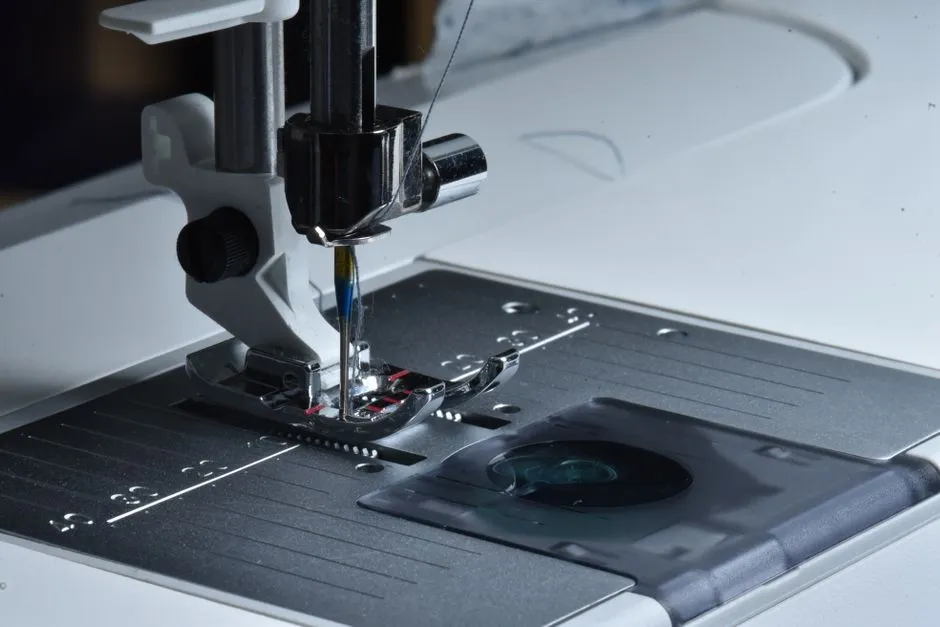
Start with the pattern's stated allowance
A seam allowance is the distance from the stitching line to the raw fabric edge. Before sewing, find the width specified by the pattern. Garment patterns may use 5/8 inch (about 16 millimeters), quilting instructions often use 1/4 inch (about 6 millimeters), and other projects use different widths. Never assume one default.
Confirm whether the pattern includes the allowance in its pieces. Adding another allowance to a pattern that already includes one changes the finished size.
Verify needle position and markings
Switch off the machine while inspecting near the needle. Install the ordinary presser foot specified by the manual and return to the intended needle position. Needle-plate measurements usually show distance from a particular needle position, so moving the needle can make a familiar line inaccurate.
Turn the handwheel in the direction stated by the manual to confirm that the needle clears the presser foot. Keep fingers away from the needle and power the machine only after the area is clear.
Place a fabric scrap under the foot, align its edge to the chosen plate mark, and sew several inches. Remove it safely and measure perpendicular from stitches to edge. This test resolves uncertainty about which side of a wide groove or marking represents the distance.
Extend the guide when needed
A plate line may be too short to see before the fabric reaches the foot. A removable guide can extend it toward the front of the machine. Use a product safe for the machine surface, and do not cover feed dogs, vents, sensors, bobbin access, or controls.
A magnetic guide is inappropriate on machines whose manufacturer warns against magnets or where it could affect electronics. A raised guide must not block fabric layers or collide with the foot. The manual takes priority.
Watch the edge, not only the needle
Align the raw edge with the guide and look slightly ahead of the presser foot. The feed dogs should transport the fabric. Rest your hands on either side to steer lightly without pulling from behind or pushing toward the needle.
Support the weight of a large project on the table so it cannot drag the seam sideways. Slow down before curves, corners, thickness changes, and intersecting seams. Stop with the needle position recommended by the manual before pivoting.
Keep pins out of the needle's path. Remove them before they reach the foot; sewing over a pin can break the machine needle and throw sharp fragments. Eye protection is prudent when working with stiff or layered materials.
Run a preflight before project pieces
Wind and insert the bobbin as the manual directs, thread with the presser foot in the specified position, and confirm the selected straight stitch, length, needle position, and presser foot. Lower the foot before sewing. Place both thread tails as directed so they do not tangle at the first stitches.
Use a doubled scrap cut on the same grain direction as the real seam. A single-layer test can feed differently and does not represent the project's thickness. Mark a starting line so the first sample can be measured as carefully as the middle.
Test accuracy at several points
After a sample seam, measure at the beginning, middle, and end. A consistent but wrong width suggests the guide or needle position is wrong. A width that gradually changes suggests visual drift, project drag, or oversteering.
Press the scrap if wrinkles interfere with measurement, using the correct temperature and a safe iron setup for that fiber. Then test across the same number of layers and seam intersections as the project.
Needle behavior also affects a clean line. The guide to choosing a sewing-machine needle explains how fabric structure, thread, and blade size work together.
Treat accuracy as a repeatable setup
Record the needle position, foot, guide mark, stitch length, and test result with the project notes. Recheck after changing the foot or needle position. Do not chase speed; a consistent moderate feed is easier to correct than a fast wandering seam.
Explore more controlled setup skills in Machine Basics.